
Make Your Own Plant Based Liquid Fertiliser
If you’re looking for a free plant based liquid fertiliser, look no further than your own lawn. That’s right! Instead of throwing away your lawn clippings, why not turn this locally available renewable resource into a nutrient and biologically rich fertiliser for your garden?
Why Grass Clippings?
Many people have access to grass clippings from lawn mowing. It is a particularly abundant resource in suburban areas. Often the clippings are disposed of with other yard waste and sent to landfill. This uses resources unnecessarily in the transport and processing of the clippings. It also means you are shipping the fertility in your soil off site, when it could be recycled to avoid having to bring in fertiliser from somewhere else to replace those lost nutrients. Making a liquid fertiliser with the clippings is quick, easy, and can help cut down on the costs of purchasing fertiliser for your lawn, ornamental plants, and vegetable gardens.
What You’ll Need
The only inputs are grass clippings and water. Make sure the clippings haven’t been sprayed with herbicides or pesticides, especially if you plan to use the fertiliser on your edible plants. You’ll need a lawn mower, preferably with a catcher, and a 5 gallon (20 litre) bucket or similar container. That’s it! If you don’t have a catcher, just rake up enough grass clippings to fill your container about 2/3rds.
Making the Fertiliser
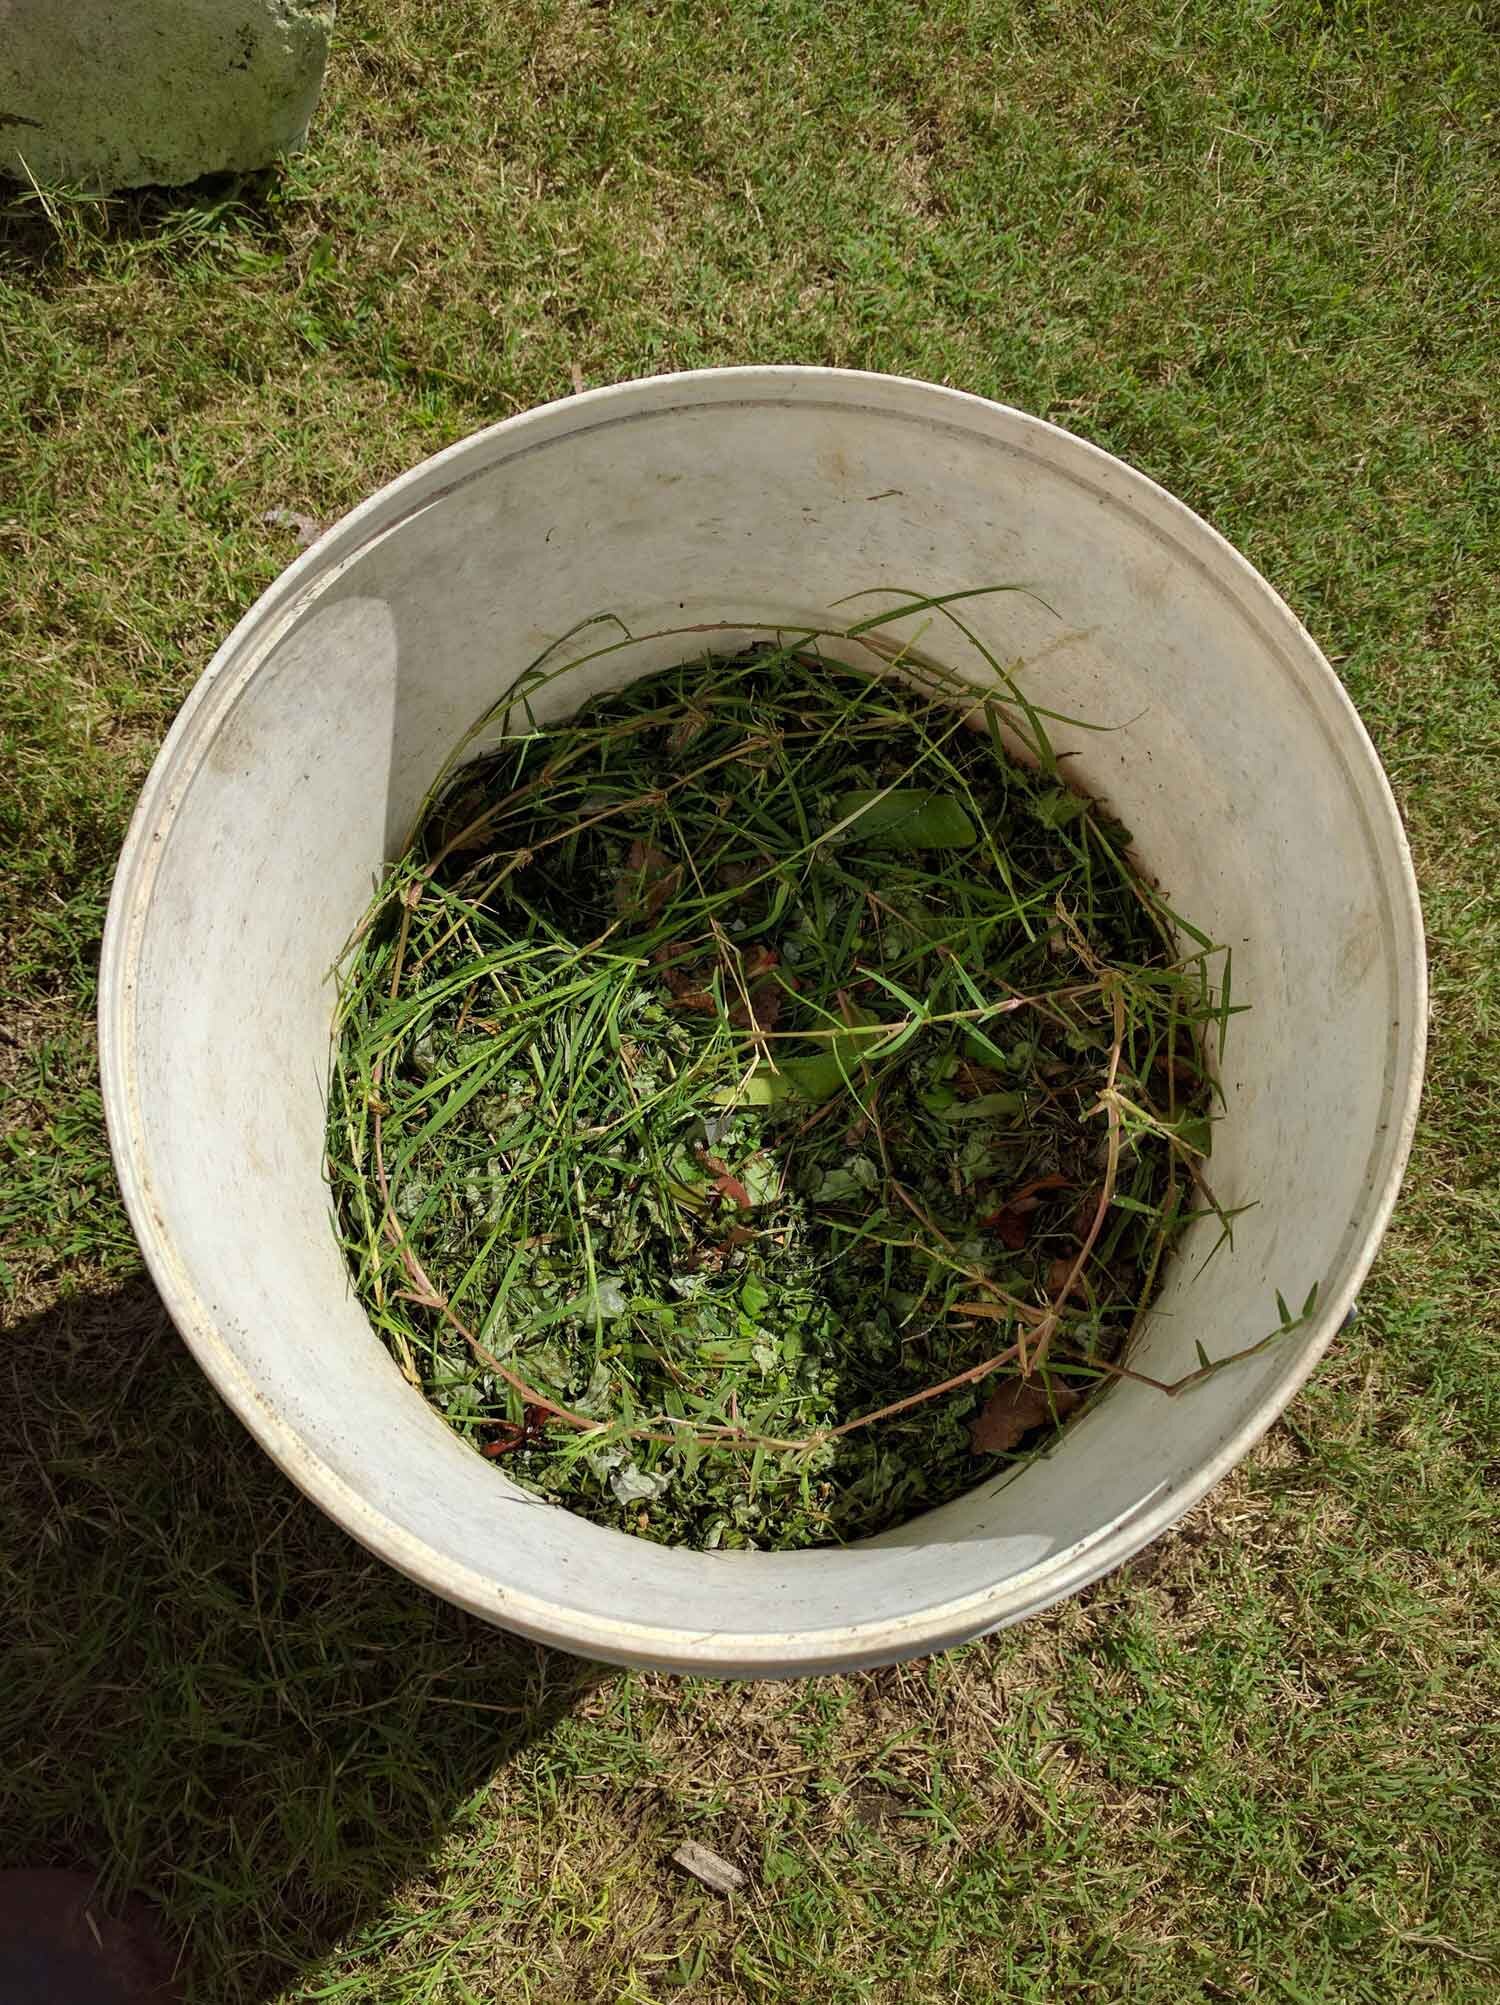
Bucket with clippings.
To make the fertiliser, fill your container with fresh grass clippings about 2/3rds. Then add enough water so the level is just below the top of the container. Don’t fill it right up because the grass absorbs water and expands, potentially overflowing your container and making a mess. Make sure you fully submerge the grass so the nutrients can leach into the water. Put a lid on the container and then store it in a cool, dark location to let it steep. For how long? It depends on the temperature, but usually two to three days. In hot weather, it can take just one to two days. You want to avoid the grass fermenting, which will create an unpleasant smell. To help stop it fermenting, take the lid off and give it a stir each day to mix more oxygen into the water. To tell when it’s done look at the colour of the water, it should be a dirty brown or yellow.
The next step is to separate the grass from the water. You can get another bucket or container the same or bigger size and pour the liquid through a screen into the empty container. Cheesecloth, rags, or geotextile material stretched over the container and held in place with a big, strong rubber band or tied rope can do the job. You want something fine enough that it will catch any weed or grass seeds and keep it out of the fertiliser.
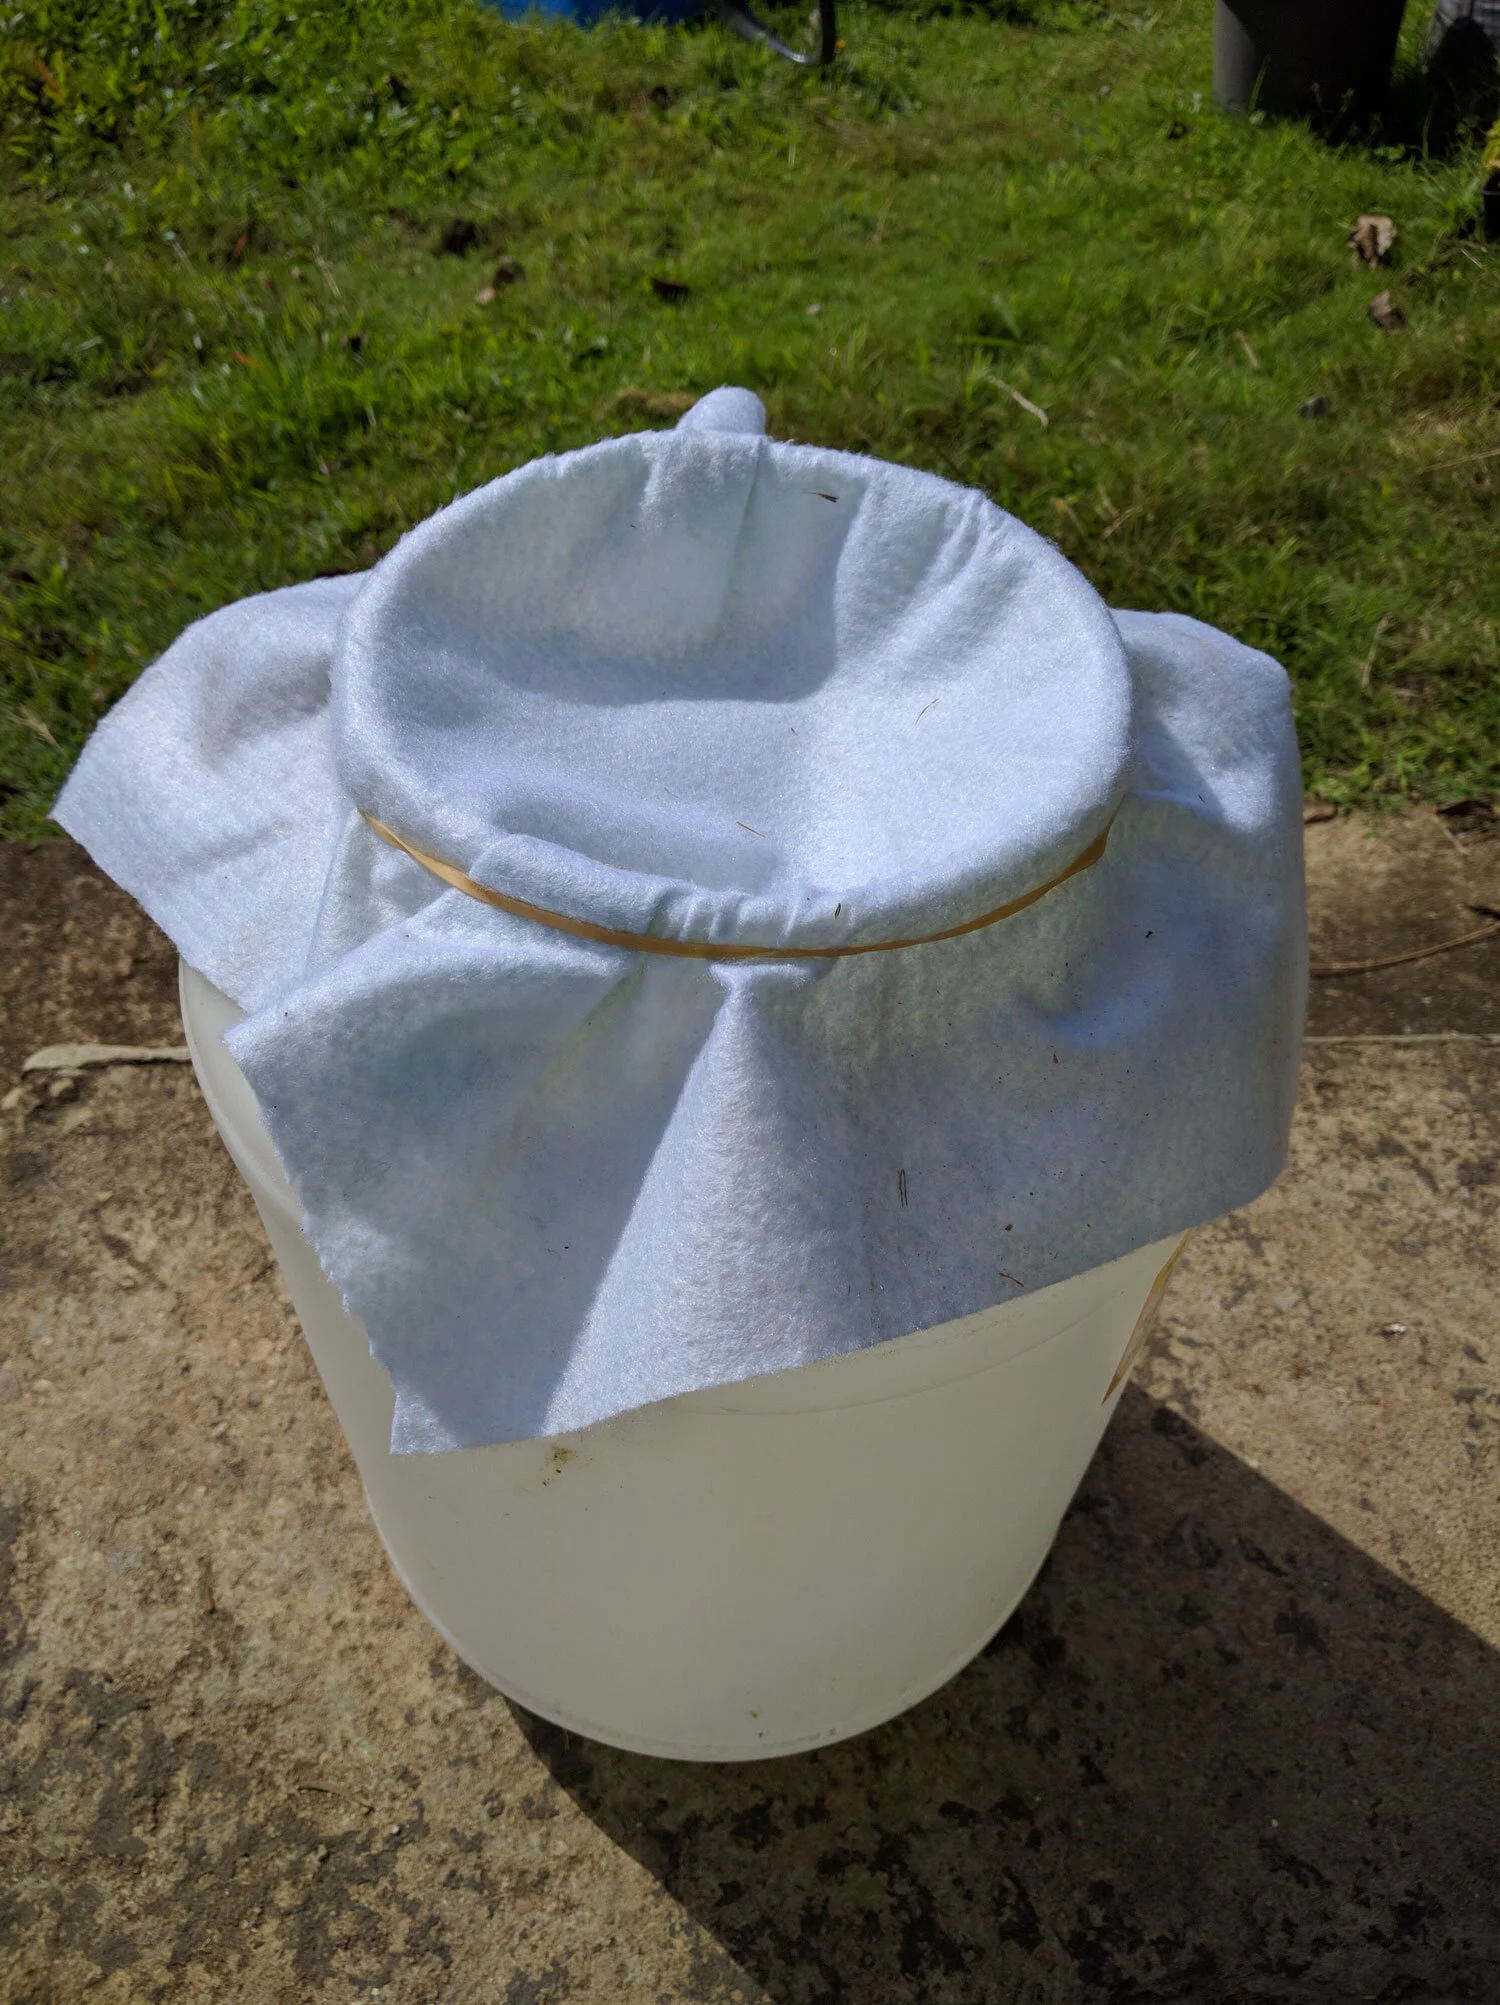
Container with geotextile screen.
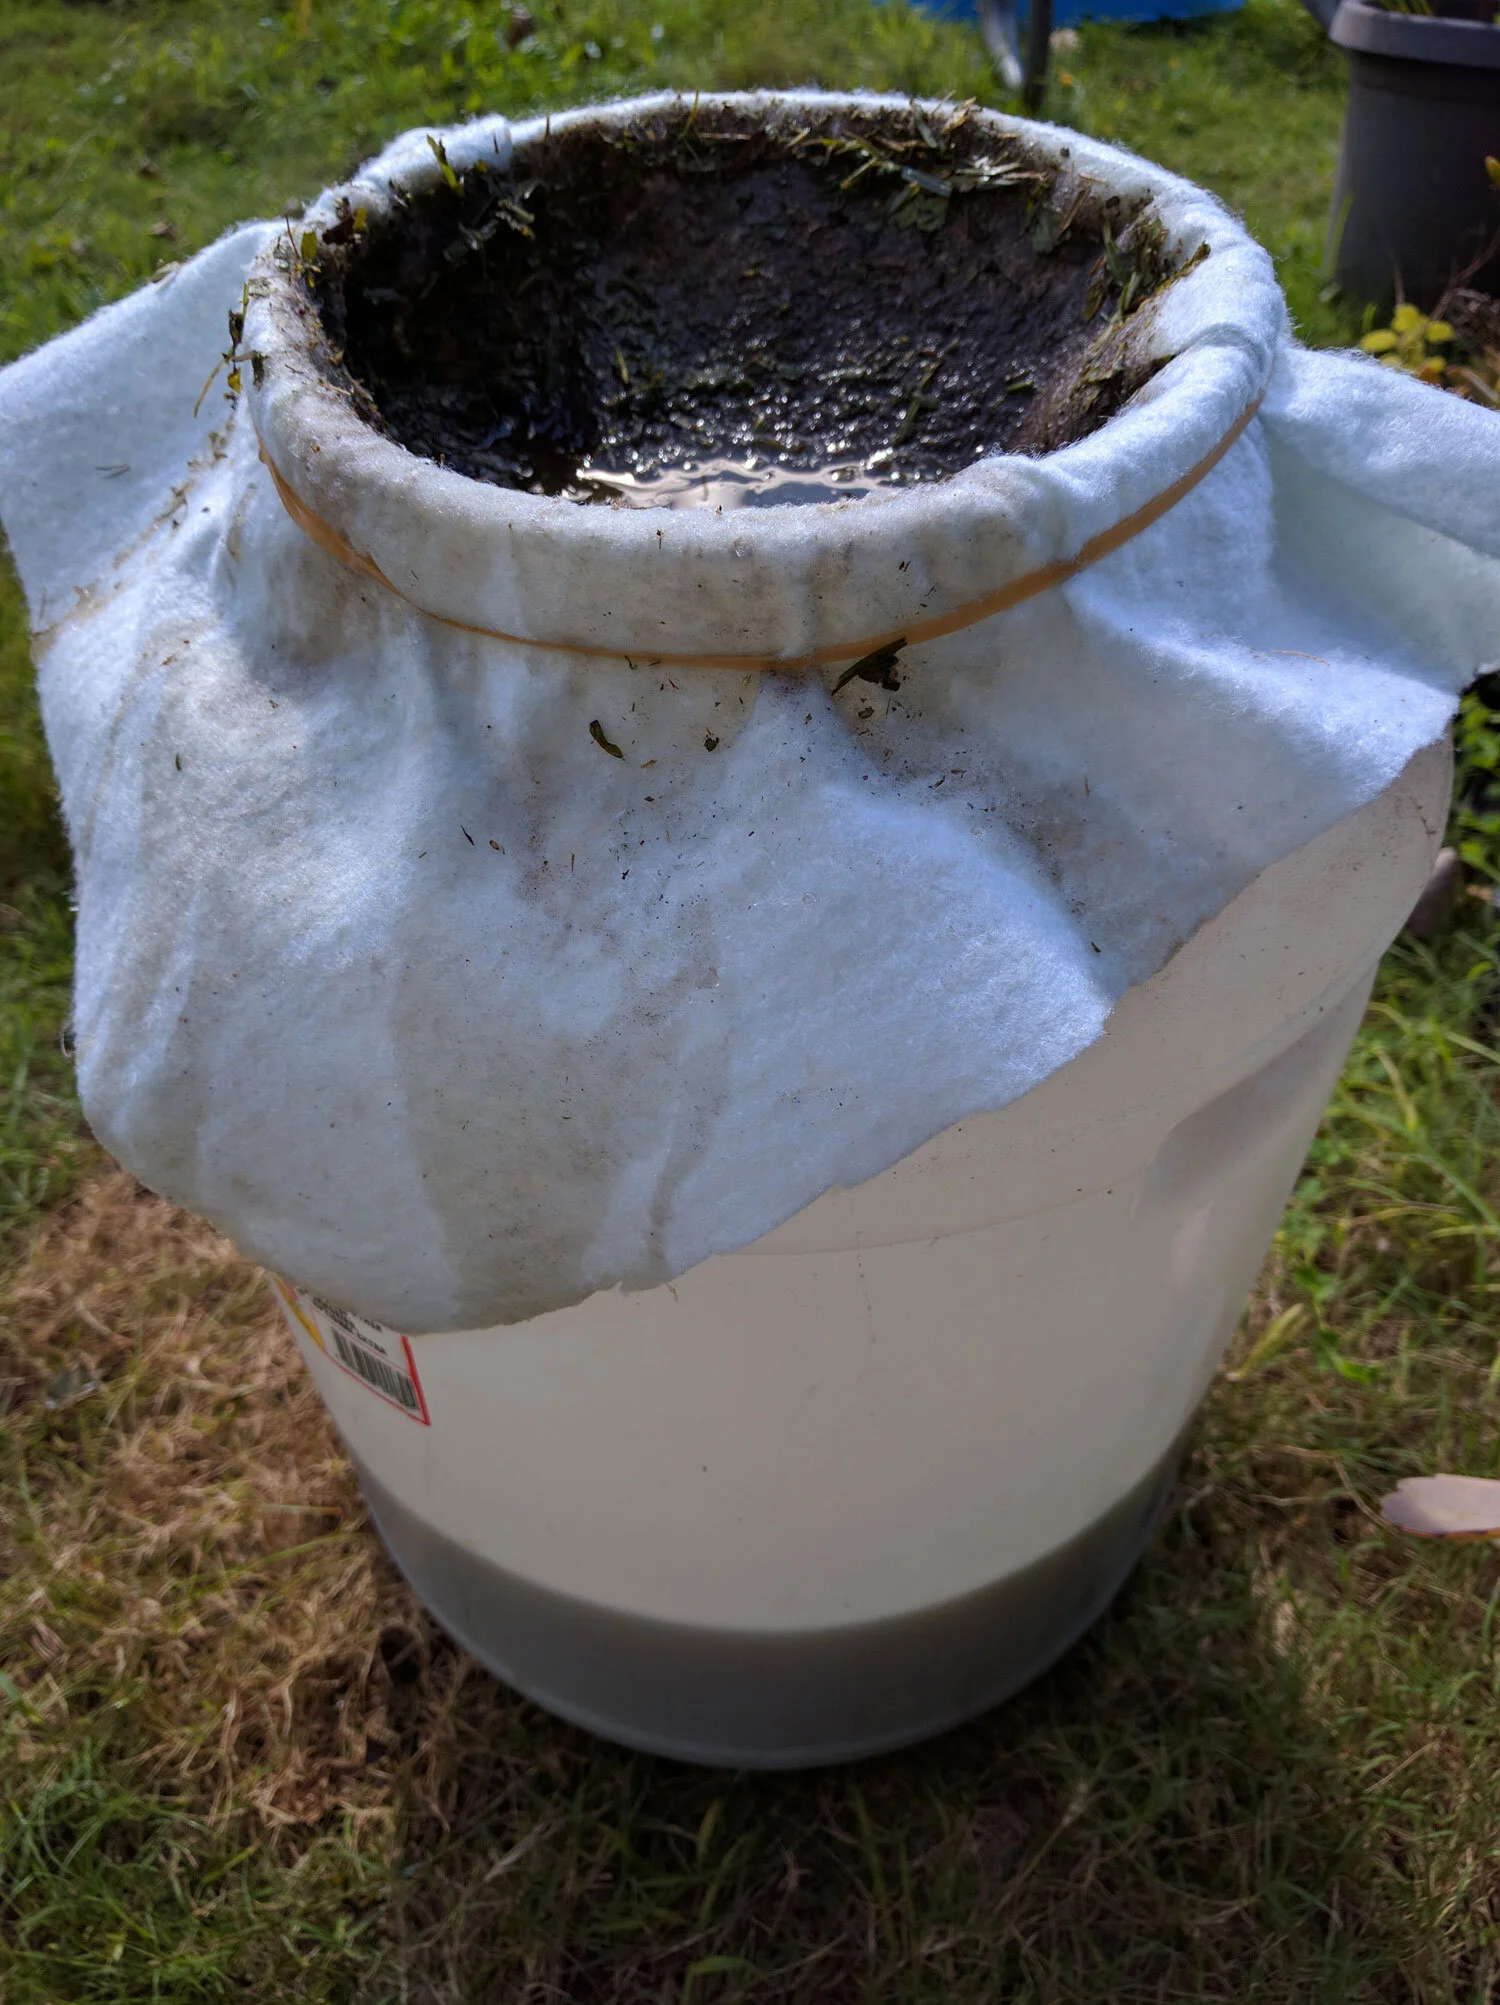
Filtering the fertiliser through the geotextile into container.
Applying the Fertiliser
Use the fertiliser immediately, within a day or two, or it will go bad. Dilute by adding equal amounts of grass tea and water. Pour it around the root zone of your plants using a watering can or scoop. One to two cups (250 – 500ml) is plenty per plant. Be careful when applying to seedlings and young plants. Start with small amounts, less often to avoid damage. Established plants can handle higher concentrations and applications that are more frequent. Now sit back and watch your plants flourish!
For more information on this and other sustainable gardening methods, visit my YouTube channel at https://www.youtube.com/user/RegenerativeDesigns